Showing posts with label EmilyEckel Etsy. Show all posts

Sunday, November 20, 2011

Craft Fair Success

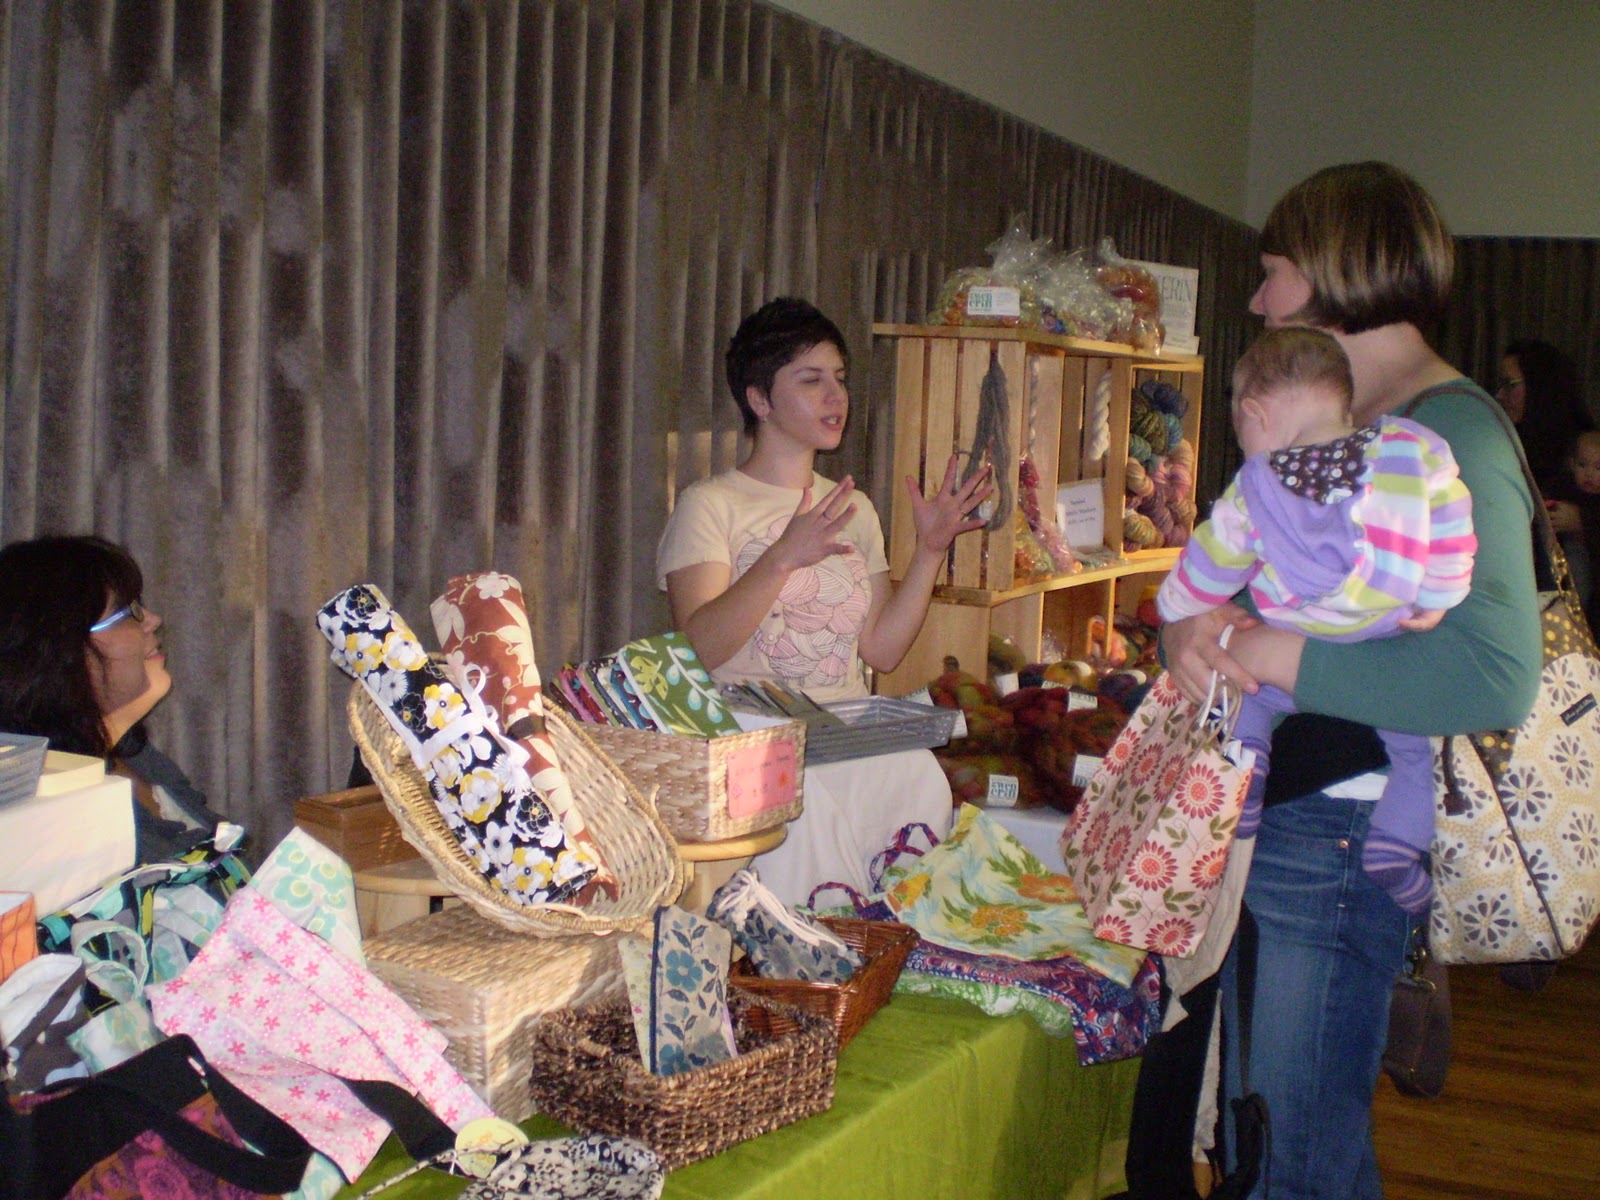
The Indie Knit and Spin craft fair was a successful first time event.  There were steady crowds and sales were surprisingly good.  I sold more buttons than I expected.  Joyce Compton also had good sales of her felting kits.  Things went well enough that I will consider doing other craft fairs. 
Knitters and spinners tend to be passionate about their craft.
The displays I built worked well.  I was particularly happy with the spinner display racks that are made from old floor lamps, scrap lumber and PVC pipe.
Small children were attracted to the buttons on the table cloth.  This photo was taken just before the doors opened.
All of the displays were made from recycled materials.


Sunday, November 13, 2011

Handmade Arcade & Craft Booth Design

The Handmade Arcade was held at the David Lawrence Convention Center yesterday.  This craft fair used to be held at the Construction Junction but it has grown and become better organized.  The new venue was roomy enough to handle the steady crowds that came to see the 140 creative local vendors.  I was there to represent the Steel Town Etsy team.  It was fun to work the Etsy table, interact with the crowd  and get to know some of the artisans.  I especially enjoyed working with the other volunteers at the Etsy table. 

I did a walk about and took a few photos of venders' booths.  I was looking at the craft booth designs with a critical eye to get ideas for our table at the Indie Knit and Spin craft fair next week.  Joyce Compton and I have a week to finish the preparations for our first vending adventure. 
A cheerful vendor with a well organized space, great use of color.

L shaped display, good lighting and creative use of old windows.

The fencing on the left is a compact vertical display wall.

Check out the banner and spotlights shining on the merchandise.
The best booths create a sense of space and have a distinct atmosphere that is part of the artist's brand.  They also make use of vertical space to have displays at eye level. 

Sunday, September 18, 2011

Building a Craft Fair Display

Today was a day spent at the Lillian Street wood shop.  It was lots of fun as usual.  I used my time to build a table top craft fair display.  I'm honored to have been invited to participate in a well organized craft fair that is focused on providing supplies to indie fiber artists.  You will be hearing more about this fair as I prepare for it.  It will be held Saturday November 19th from 11:00 to 5:00 at the Wilkins School Community Center, 7604 Charleston Ave. in the Regent Square neighborhood of Pittsburgh.  Check it out!  

It will be my first craft fair and I want to have a terrific display for my button shop.  I built this display entirely from old stash and recycled materials.  It was fun to figure out how to make it without spending any money.  The exception is that I will purchase hooks to hang my button cards.
I started making some buttons from recycled hard wood moldings.  I'll drill the holes on the buttons next Sunday.
At the other end of the shop Beth Rogers is building a table top.  She is in the process of becoming reacquainted with fine woodworking techniques.  If you look carefully you can see that she is gluing up some bread board ends for the table top.
This is a photo of the renovated tool cabinet.  Can you see the influence of playing a lot of scrabble?

Thursday, September 1, 2011

Branding and Packaging my Buttons

My current task is to work on how I package my buttons.
The theme that runs through my Etsy button shop is that I take old things and make them new.  I'm using old button making techniques in new ways.  I recycle old buttons by dying them. Etc.  I want to design some packaging for my buttons that reflects that theme.

Historically buttons have been sold on cards.  This is a card from the 1920s.  It looks to me like the card designer did the 1920s version of cut and paste.  I think the message is that these buttons are well made and fancy.
I'm not sure when the two cards below were produced.  Perhaps in the fifties?  The message conveyed is that using these buttons will enhance the user's gender role.  The roles portrayed are so extreme that they seem like caricatures to me.  It amuses me that on the man's card the designer has thoughtfully given us specific instructions on where to sew the buttons.     
Contemporary button card designs tend to be simple.  Often they just have the manufacturers logo.  I want to do more than that.  I want my cards to have a lot of personality.  Here is the current version of a card for my buttons.  I like the retro feel of the design and the pattern of how the buttons are arranged on the card.  Its an affordable to make button card.  The design is going to evolve.  I'm thinking of adding historical information about button making on the back and maybe some imagery.  I am also looking for a reasonably priced source of recycled card stock. 

Sunday, August 21, 2011

How to Dye Buttons

All of these buttons were white before dyeing. 
I'm expanding my line of dyed, recycled buttons in my Etsy button shop.  I'm working primarily with white buttons from my mother's and sister's button boxes.  They are typical old buttons saved from clothes and there are a lot of them.  
Marbled buttons dye well also.
It's not hard to dye buttons.  I use Rit liquid dye because it's readily available.  Here's the process that is working for me. 
1.    Wash the buttons and a small plastic container.  A 12 oz container works well.
2.    Put about an inch of water in the container.
3.    Heat water in a microwave until it boils.  Don't skip this step.  Dyeing doesn't work well without heat.
4.    Add liquid dye to the container.  Start by adding about 4 tablespoons.  You can always add more if the colors aren’t bright enough.
5.    Add 20-40 buttons.  The number will depend on the size of the buttons.  You want all of them to be submerged in the dye. 
6.    Let everything sit for 15 to 30 minutes.  Stir occasionally with an old chopstick or plastic spoon.
7.    Check the color of the buttons.  If you want the color to be darker let the buttons stay in the dye for a while longer.  Or add a bit more dye. 
8.    Remove the buttons from the dye with a plastic spoon.
9.    Pour what's left of the used dye & water mixture back into the bottle to reuse.  The contents of the bottle will be a bit diluted but it seems to work just as well. 
10.    The buttons must be well rinsed or they will stain fabric when wet.  I soak mine in a bucket of water overnight. 
11. Rinse till the water runs clear.
12. Let them dry.
13. Looking at your transformed buttons is the best part.
Fortunately there are lots of large buttons to dye.

And plenty of shank buttons.
 These buttons will be added to my shop stock over the next few days.